PolicyLink Setup Guide: Create, Customize & Share Your Links
Create, customize, and share PolicyLinks — including how prospects connect a carrier or upload documents.
Written By David Watson
Last updated 3 months ago
PolicyLink collects policy information and dec pages directly from your prospects with no extra work on your part. Once a prospect completes it, you automatically receive premiums, coverage limits, deductibles, drivers, vehicles, dec pages, ID cards, and more. You can create unlimited links and tailor each one to a workflow, team member, or referral partner.
Create a PolicyLink
Go to PolicyLinks in your dashboard.
Click + Create PolicyLink.
Enter the PolicyLink Name, Assigned To, and Lead Source.
Set what the prospect sees about the assigned user. Both options are on by default. See the section below.
Choose whether to Enable File Upload. See “File uploads: on or off” below.
Click Create PolicyLink, then copy the shareable link or embed code.
AgencyZoom agencies pick from their existing Lead Sources list. All other agencies get a free-text field.
Control what prospects see about the assigned user
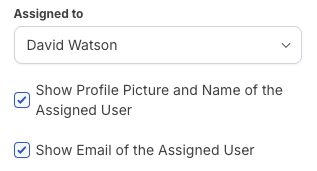
When a PolicyLink is assigned to a team member, you control how that person appears on the public PolicyLink page. The same two settings appear when you create a link and when you edit an existing one, and both are on by default.
Show Profile Picture and Name of the Assigned User: the assigned user’s photo and name appear at the top of the page.
Show Email of the Assigned User: the assigned user’s email appears next to their name.
Leave both on for a personal handoff from a specific producer or CSR. Turn both off for a neutral, agency-branded experience. You can also show only one.
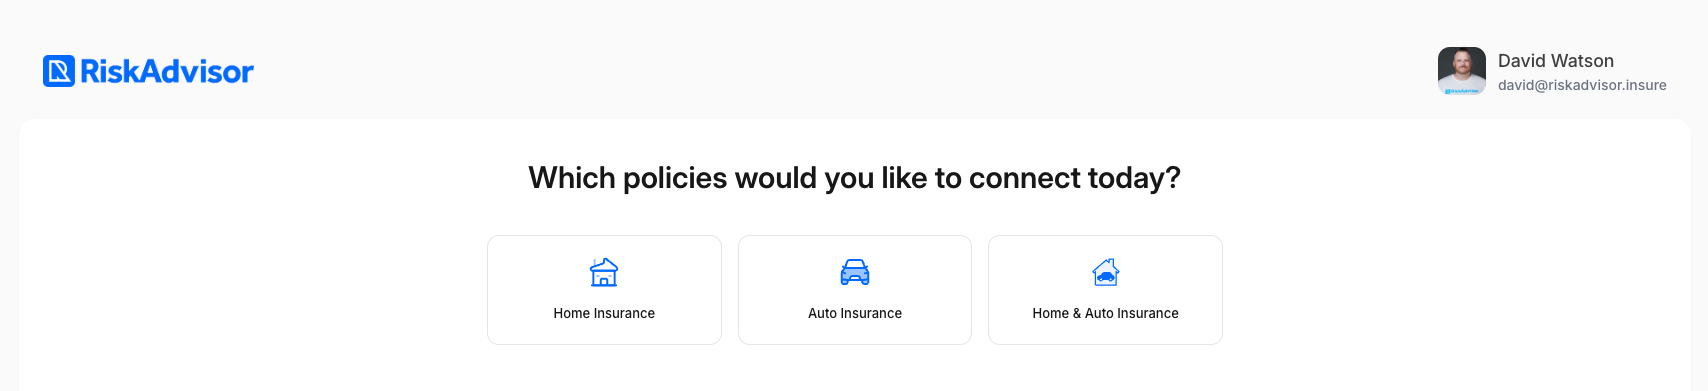
Here is how the assigned user appears to a prospect when both settings are on:
Edit an existing PolicyLink
Go to PolicyLinks.
Find the link you want to change.
Click the gear icon, then Edit.
Update the assigned team member, lead source, file-upload setting, or the assigned-user visibility settings.
Click Save.
File Uploads
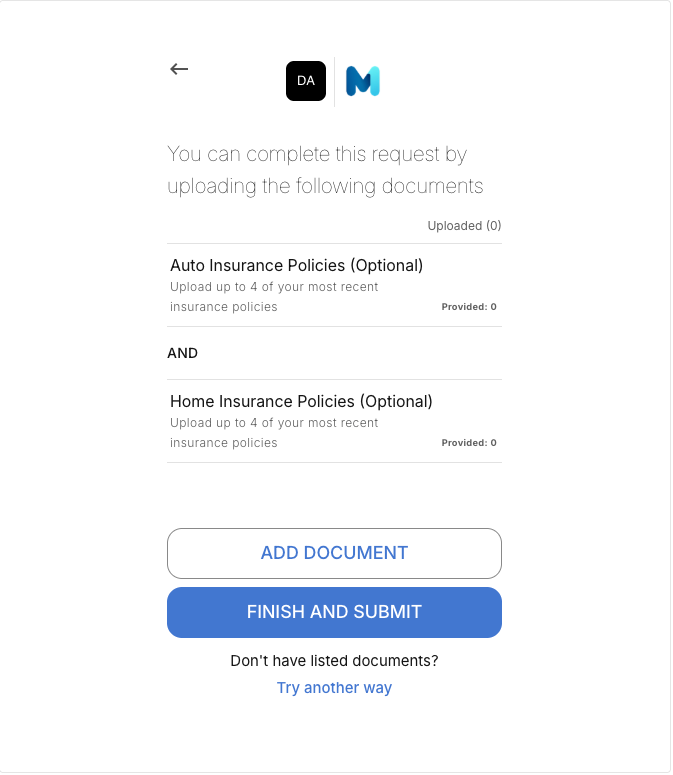
This setting decides whether prospects can upload documents instead of connecting a carrier digitally. Turn it on to let prospects upload dec-page PDFs. Leave it off to send them straight to the carrier-selection screen. It is set per link, can be changed anytime, and turning it off does not remove files that were already uploaded.
💡 Recommendation: It is recommended that you don’t turn this on. This prevents the prospect from uploading by default which can lead to bad documents. If they can’t connect to their current carrier OR can’t find their current carrier the document upload option will always be presented.
What your prospect sees
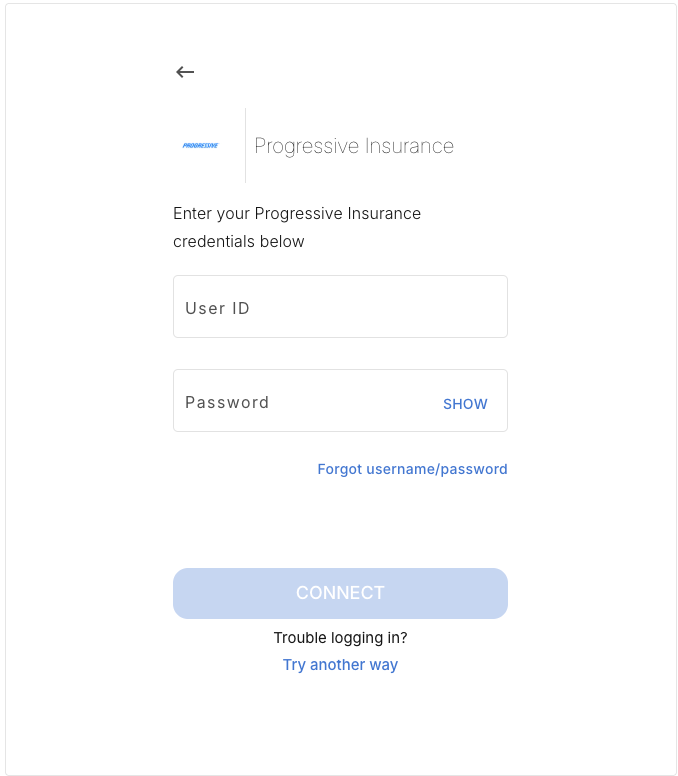
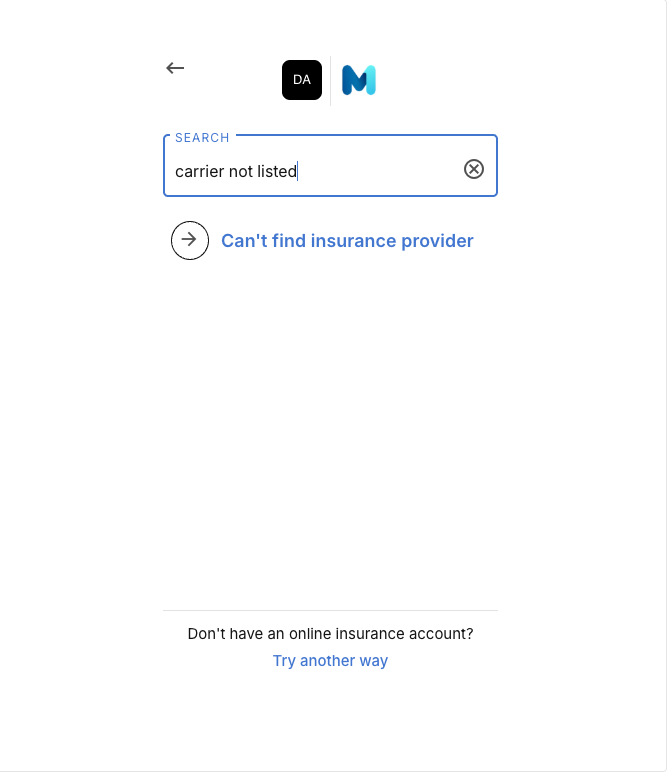
With file upload on, a prospect who does not have a carrier login, or whose carrier is not listed, can still finish the link.
If they do not have their carrier login
If their carrier is not listed
Share your PolicyLink
Copy the unique URL and send it to a prospect by email or text, share it in conversations, or give it to referral partners. To place it on your website, use the embed guide linked below.
Best practices
Your website: a dedicated link on your “Get a Quote” page for clean attribution.
Per team member: a personal link for each producer or CSR. Have them add a profile picture to build rapport.
Referral partners: a link per partner so you can track and thank them.
FAQs
Can I turn uploads off for just one link?
Can I turn uploads off for just one link?
Yes. Each link has its own setting.
If I turn uploads off, what happens to files already uploaded?
If I turn uploads off, what happens to files already uploaded?
They stay. Only new uploads are blocked.
Where does the upload step appear?
Where does the upload step appear?
Where prospects currently choose between “Connect Insurance Account” and “Upload Documents.” With uploads off, they go straight to the carrier-selection screen.
Troubleshooting
Upload step missing when it should show?
Upload step missing when it should show?
Confirm Enable File Upload is checked, save, and test again.
Upload step still showing when off?
Upload step still showing when off?
Confirm the box is unchecked, save, and test again. Still stuck? Email support@riskadvisor.insure.
Related help
Was this helpful?
Still need help? Ask the team